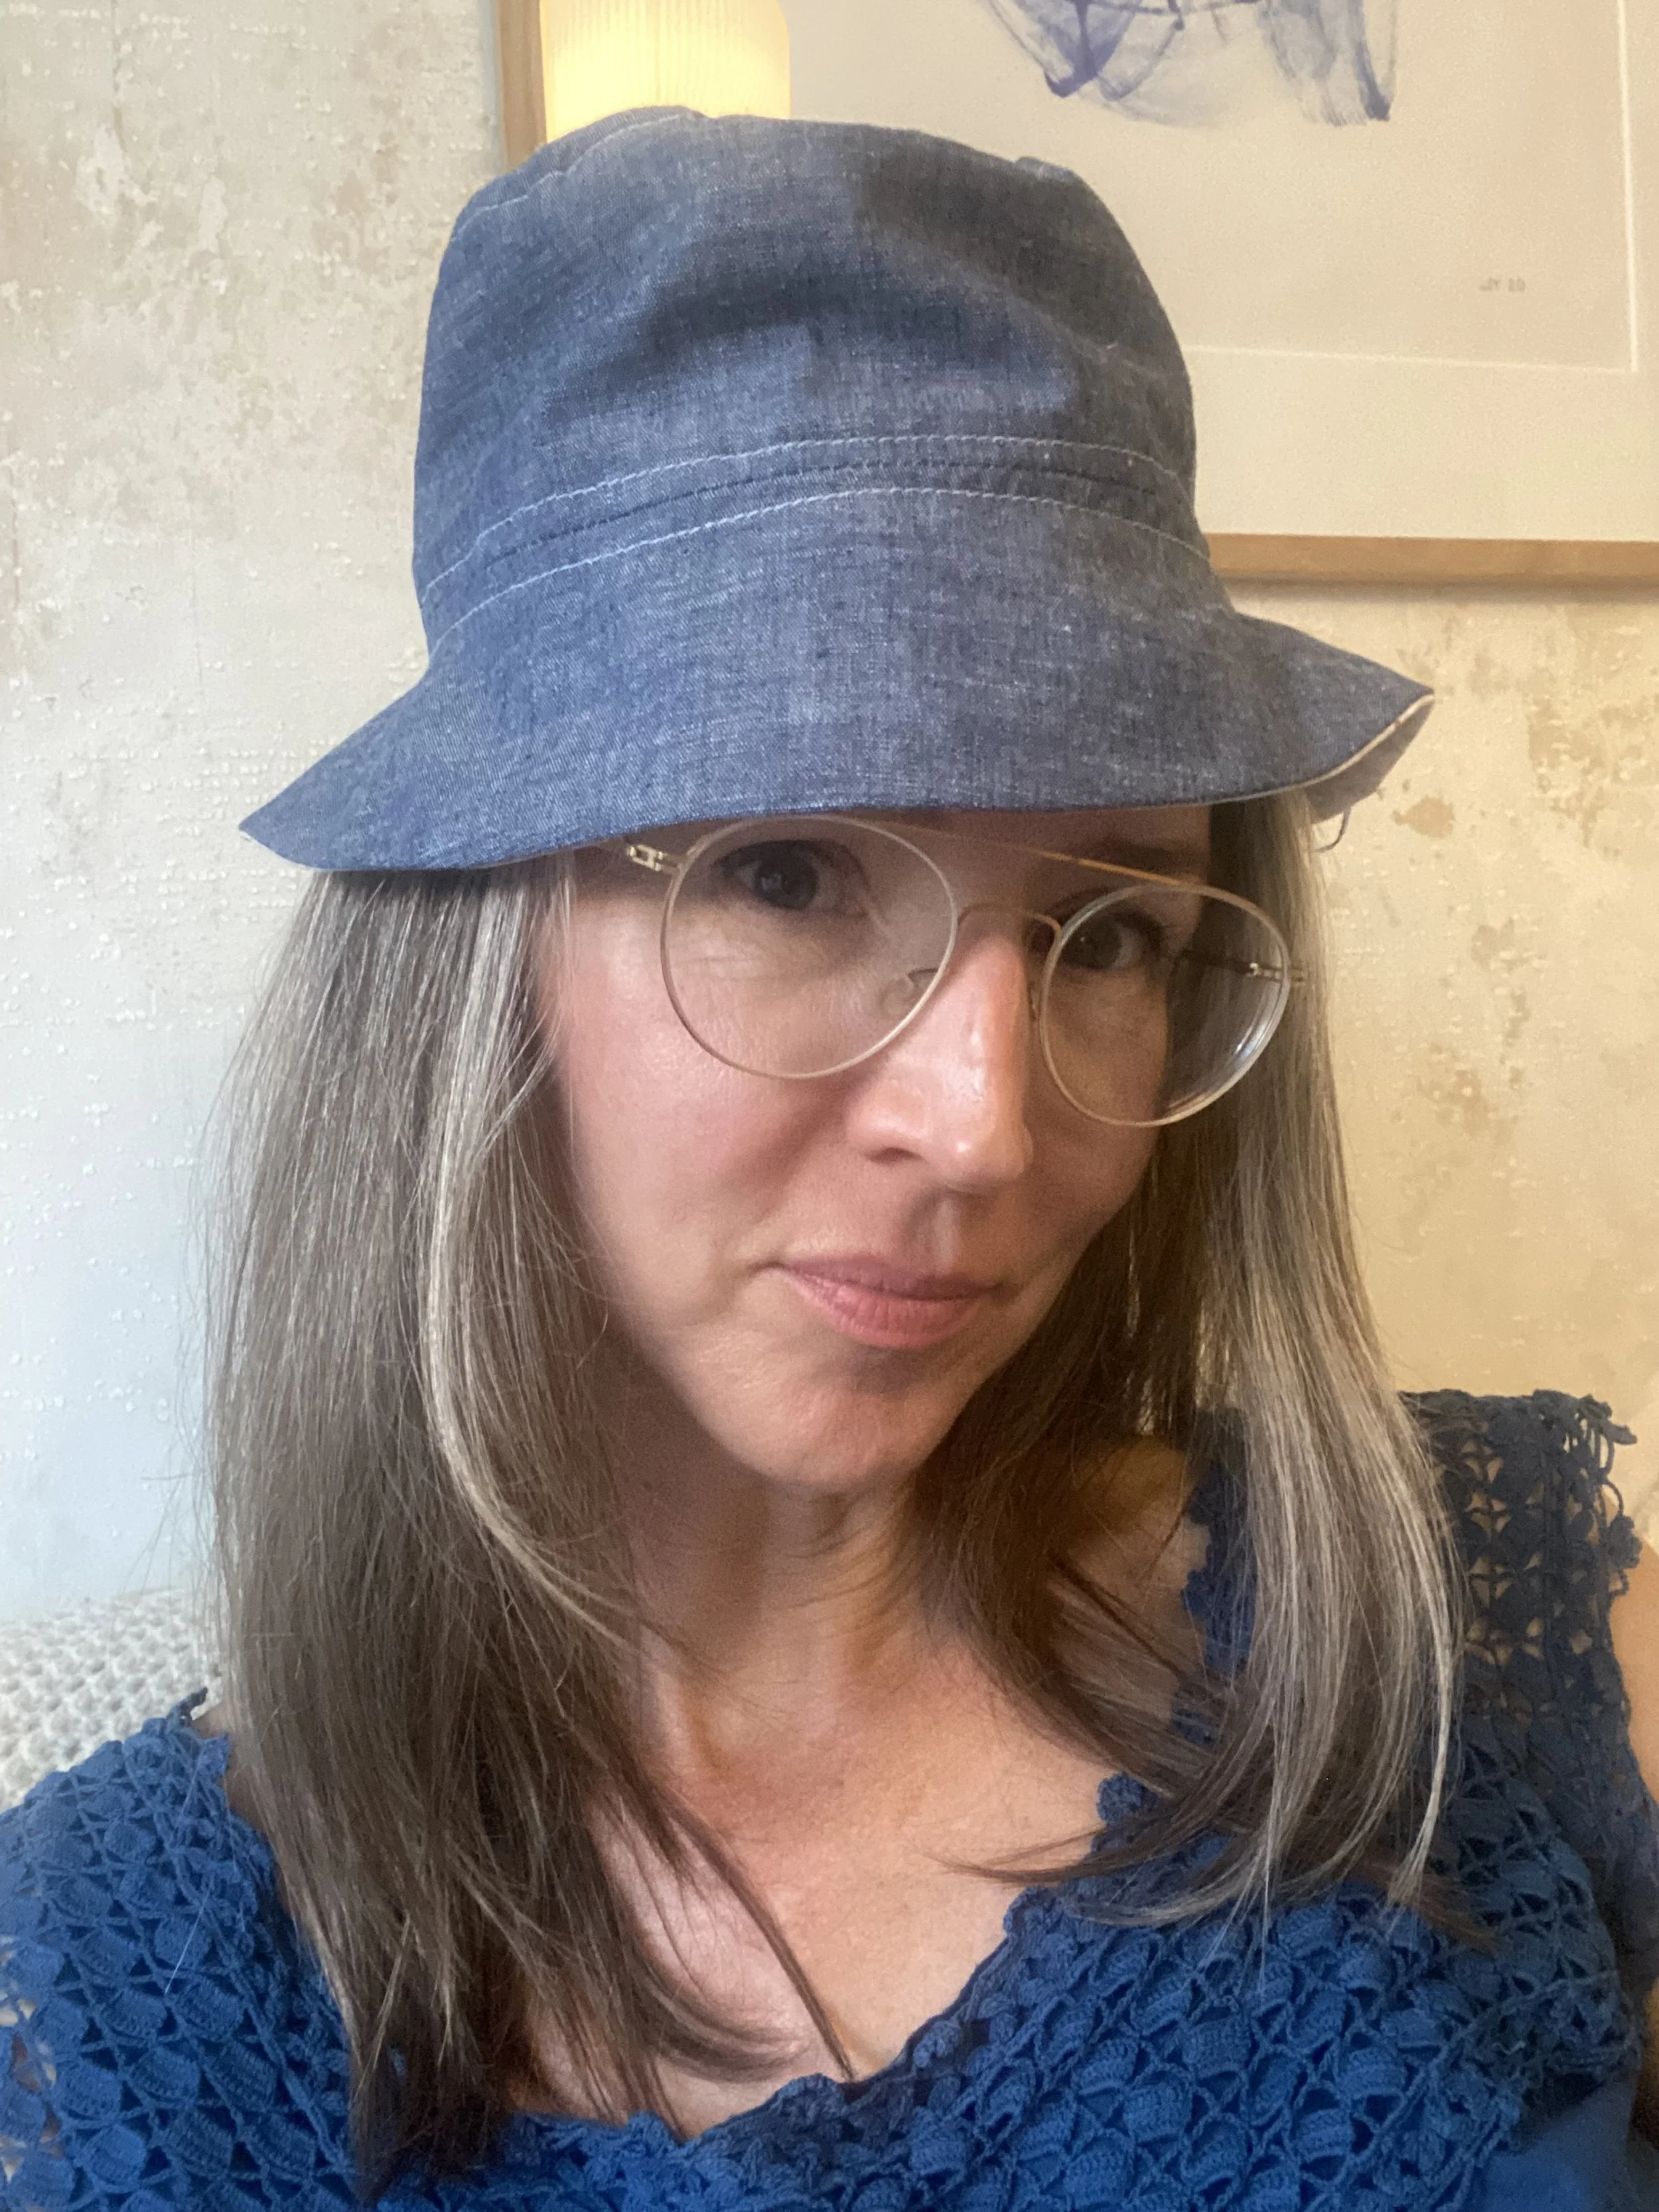
Le Bob
Tutorial on how to make a Bucket Hat, the pattern is downloadable below, I've sized it from 52 CM to 59 CM head size. AND It is in French and English!
Included in the blog post are my Spotify play list and Pinterest inspiration board to get the creative juices flowing! I hope you enjoy it and I really would love to see what you make of it! Please let me know if you have any questions, or feedback for me.
If you can, please click, and donate to let me continue providing this type of work.
Le Bob aka Bucket Hat
Materials needed:
About 1/4 yard or meter of fabric.
The idea is to use materials that already exist.
Double check that donation bag of clothes and see if you can’t cut around stains and holes and up-cycle it into a hat!
This design works best with non-stretch natural materials, such as cotton, linen, canvas, or a raw silk. The weight should be about what you would have for a Spring or Fall jacket or denim jeans. (Best without stretch, however if you are advanced in sewing, go for it!
What you’ll need:
TIME. Don’t rush it. You might finish in 2 hours, but you might want 4- 8 hours to make it the way you imagine. I’ve made a Pintrest board to inspire you.
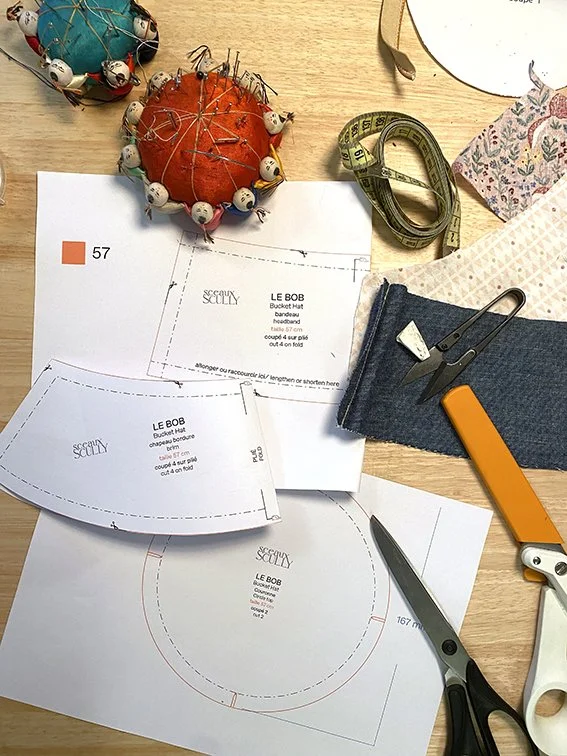
Pattern - link below - printed out to the desired size.
Measuring Tape - or knowledge of your head size
Paper scissors
Fabric scissors
Tailor’s chalk
Straight Pins
Thread and needle
Sewing machine
Iron
Ironing board
Helpful to have:
Sleeve stand/ ironing board
Inspiring music Yup! I’ve made you a play list to get the creative juices flowing!
Good eye for color and material Yup! I made you a Pintrest board too!
Instructions:
1. Find the right size pattern and cut out the three paper pieces with paper scissors.
helpful hint: fold the little “u” on the circle top at the 4 points. This will make it easier to fit your crown to the head band of your hat.
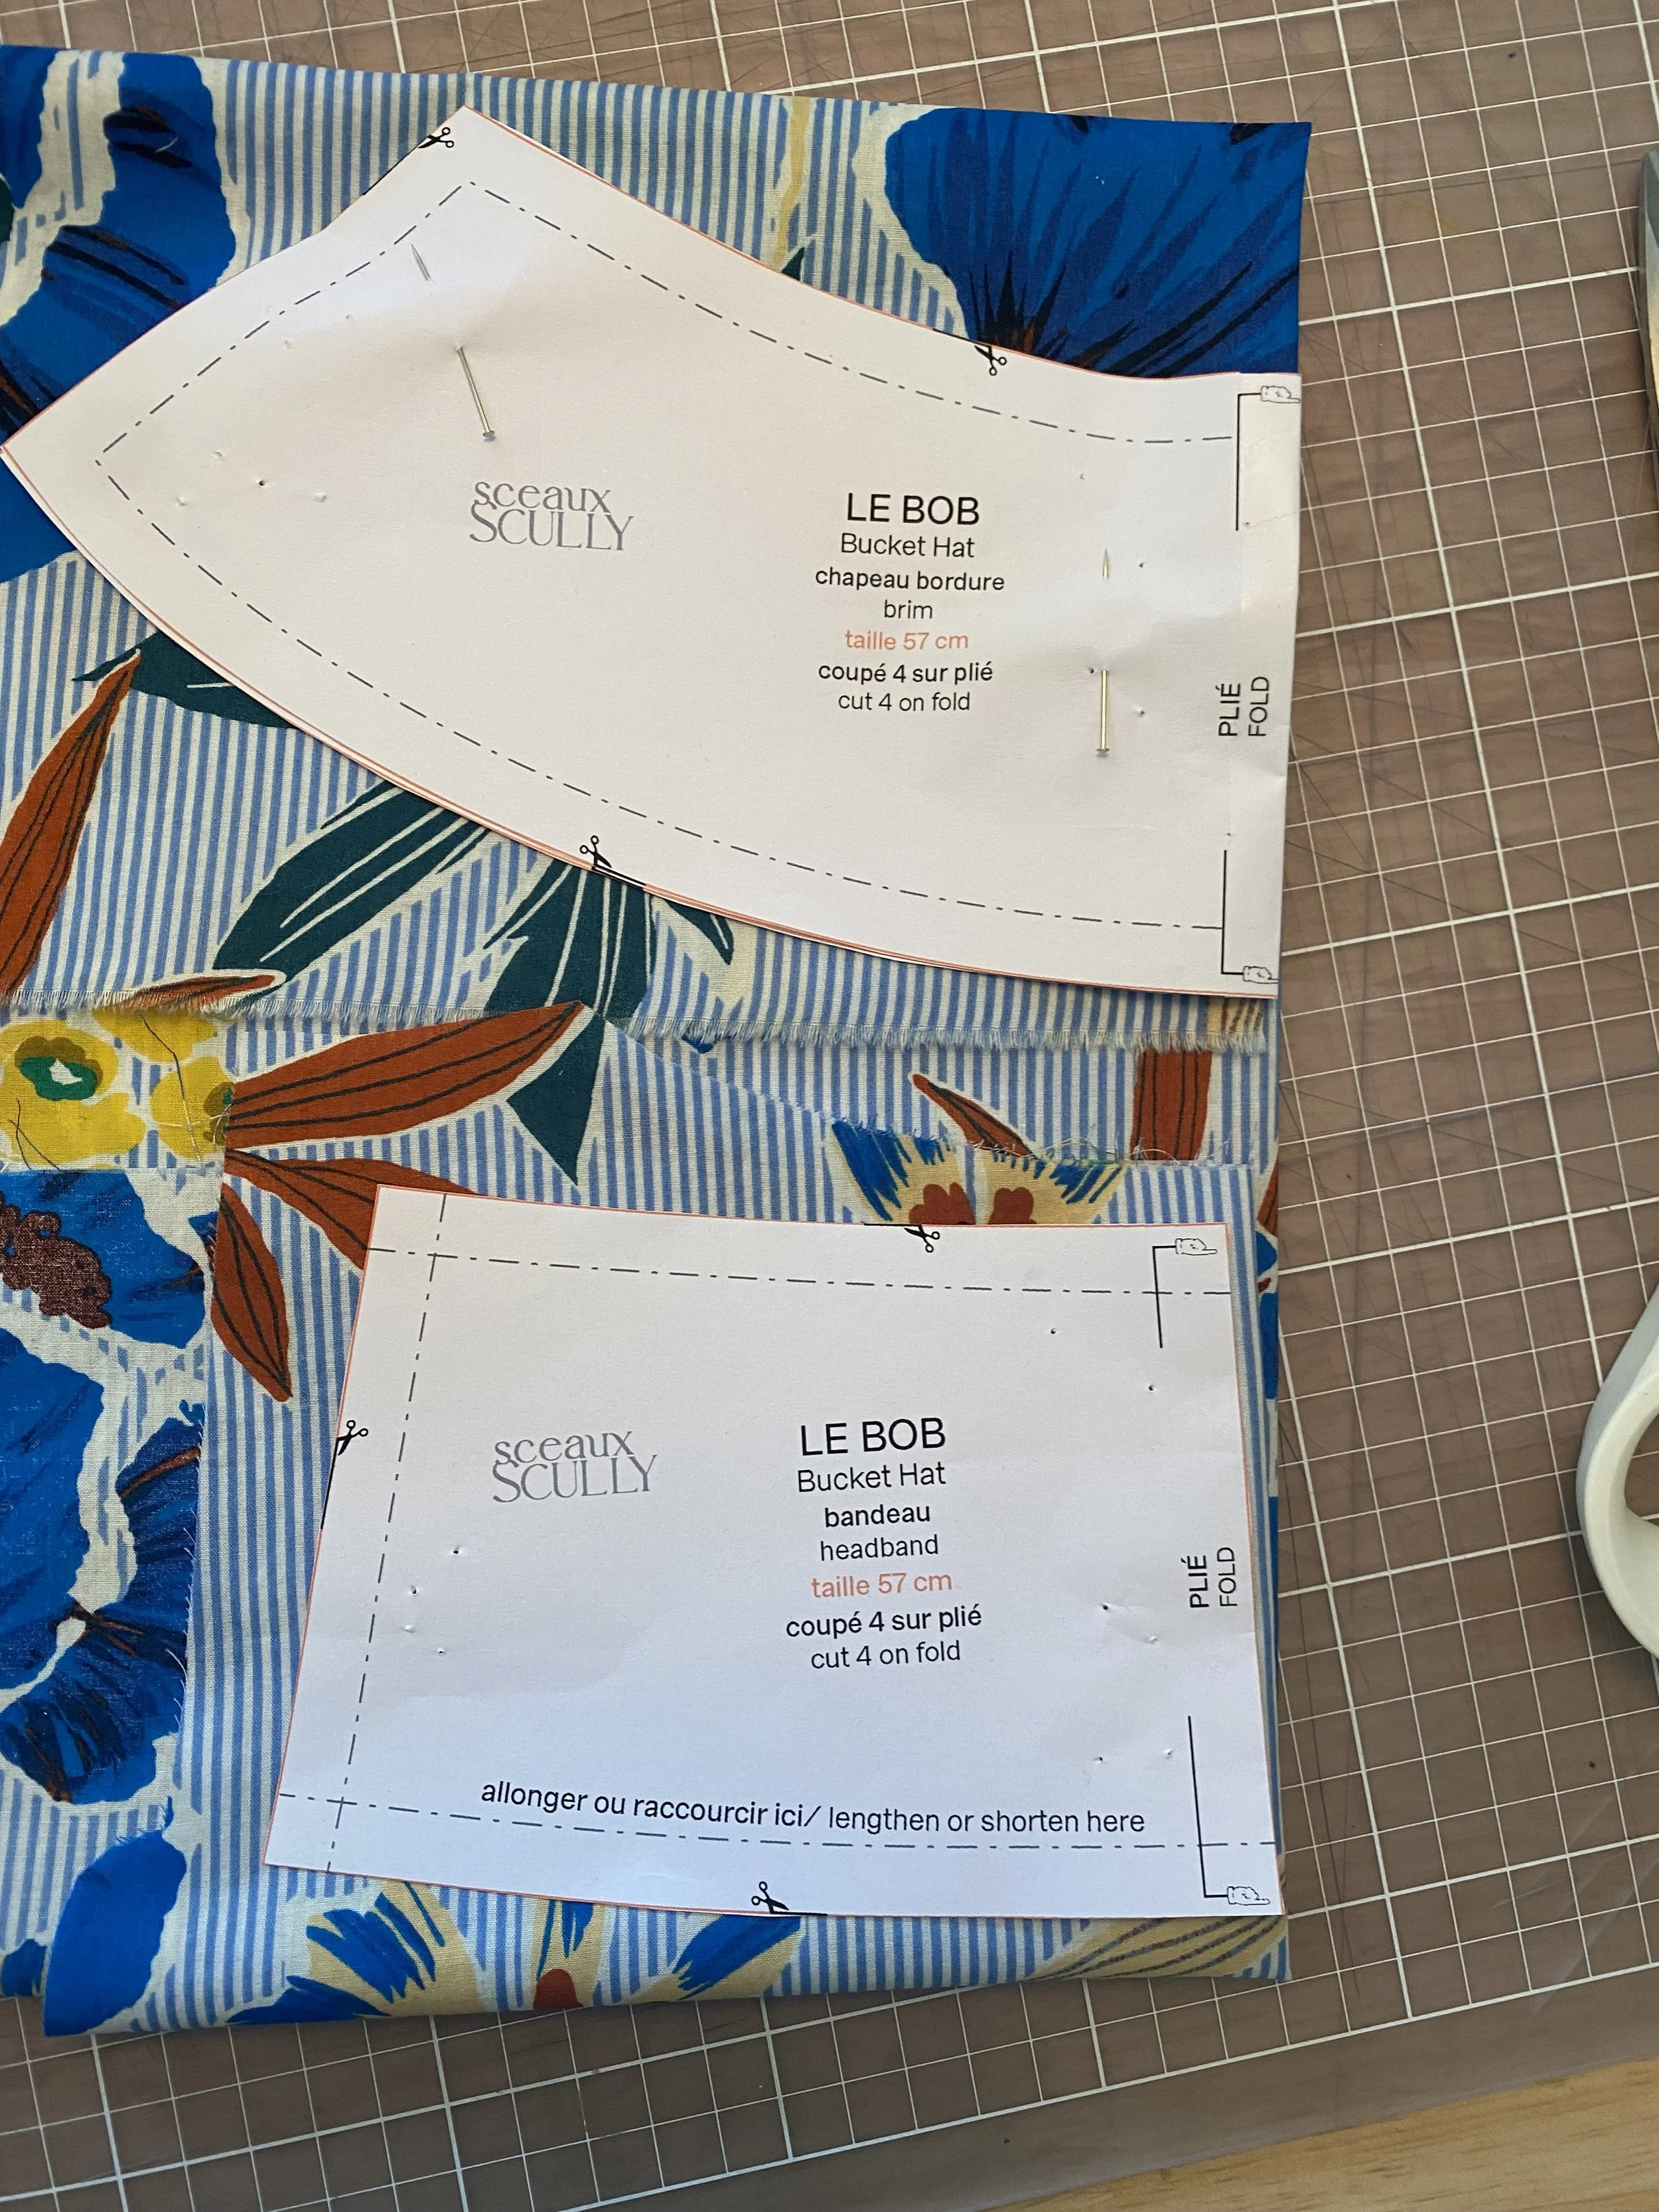
2. Lay out our pattern on your pre-washed and ironed fabric. Make sure you have enough material for all the pattern pieces.
Pin down the pieces with the correct grain; make sure the fold is on the length of the fabric grain.
*This might be the longest part of making the hat depending on how much you want to mix and match your materials.
**I myself was so focused on this part of the process, that I don’t have perfect images of it. Please bare with me!
For this hat I was using left-overs: Shown here are the pattern pieces about to be cut for the “outside” of the hat.
3. Using sharp fabric scissors cut out the pieces.
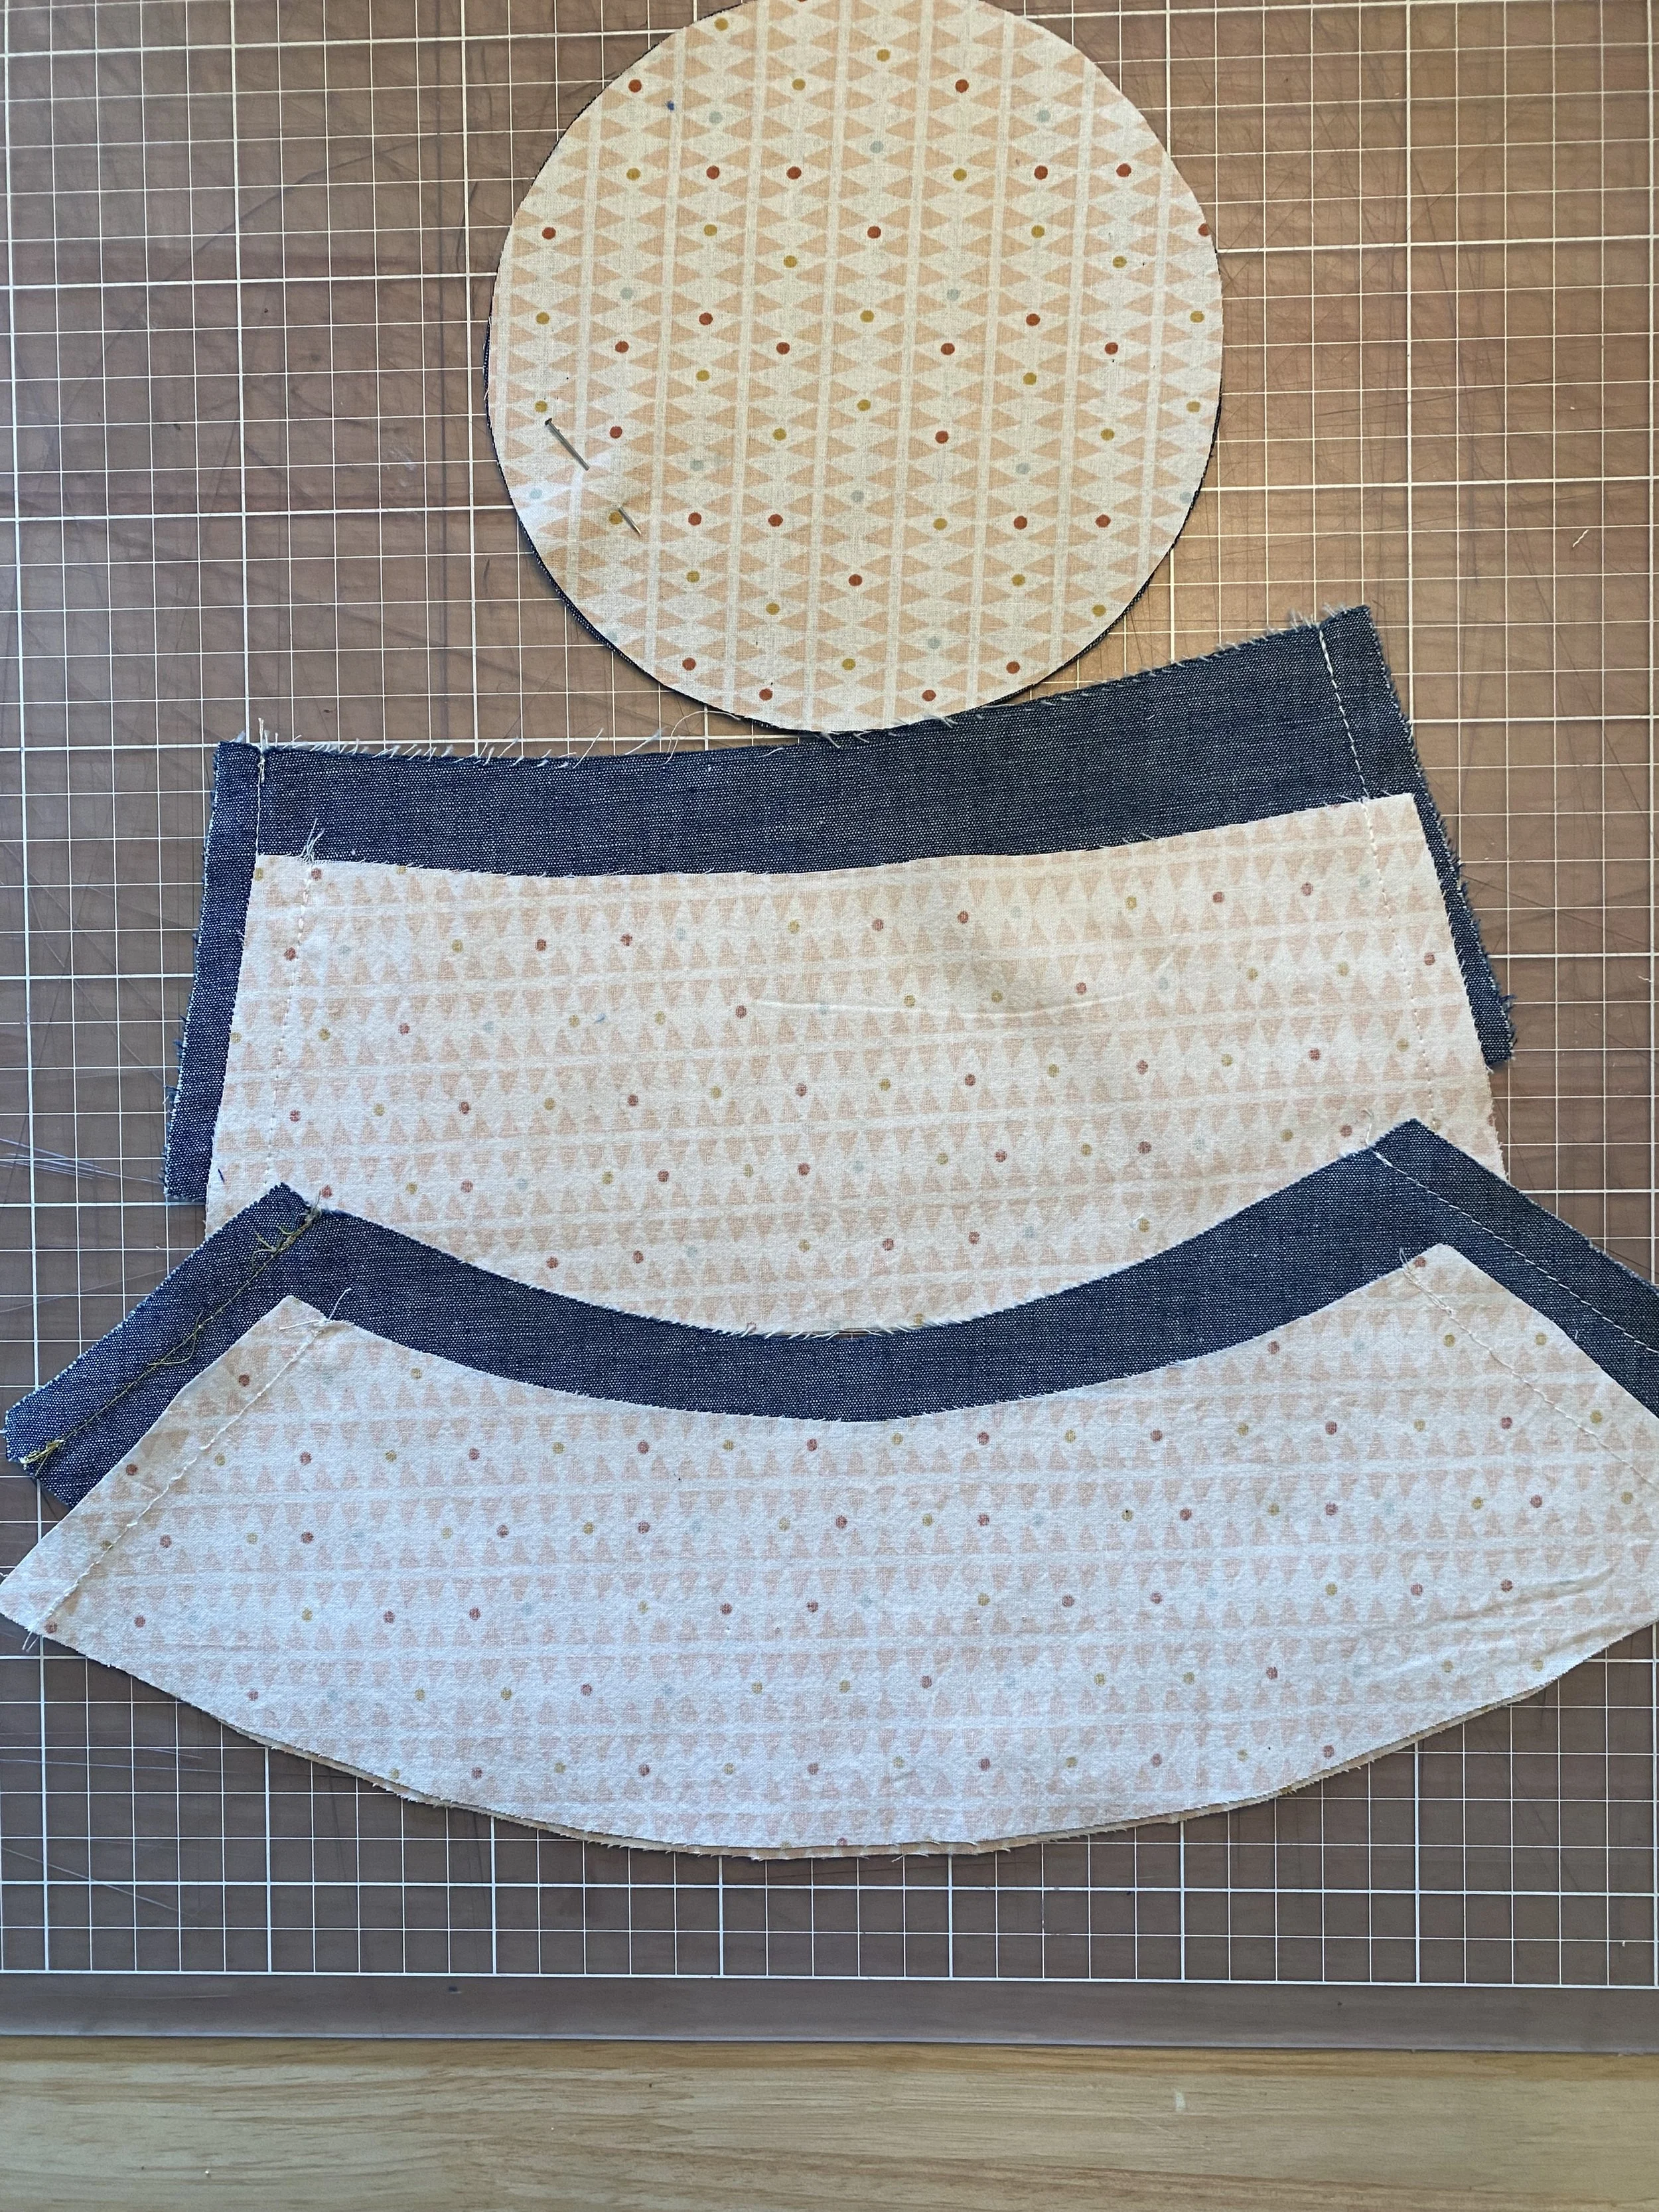
54cm sized pattern cut and sewn on edges with 1CM seam allowance
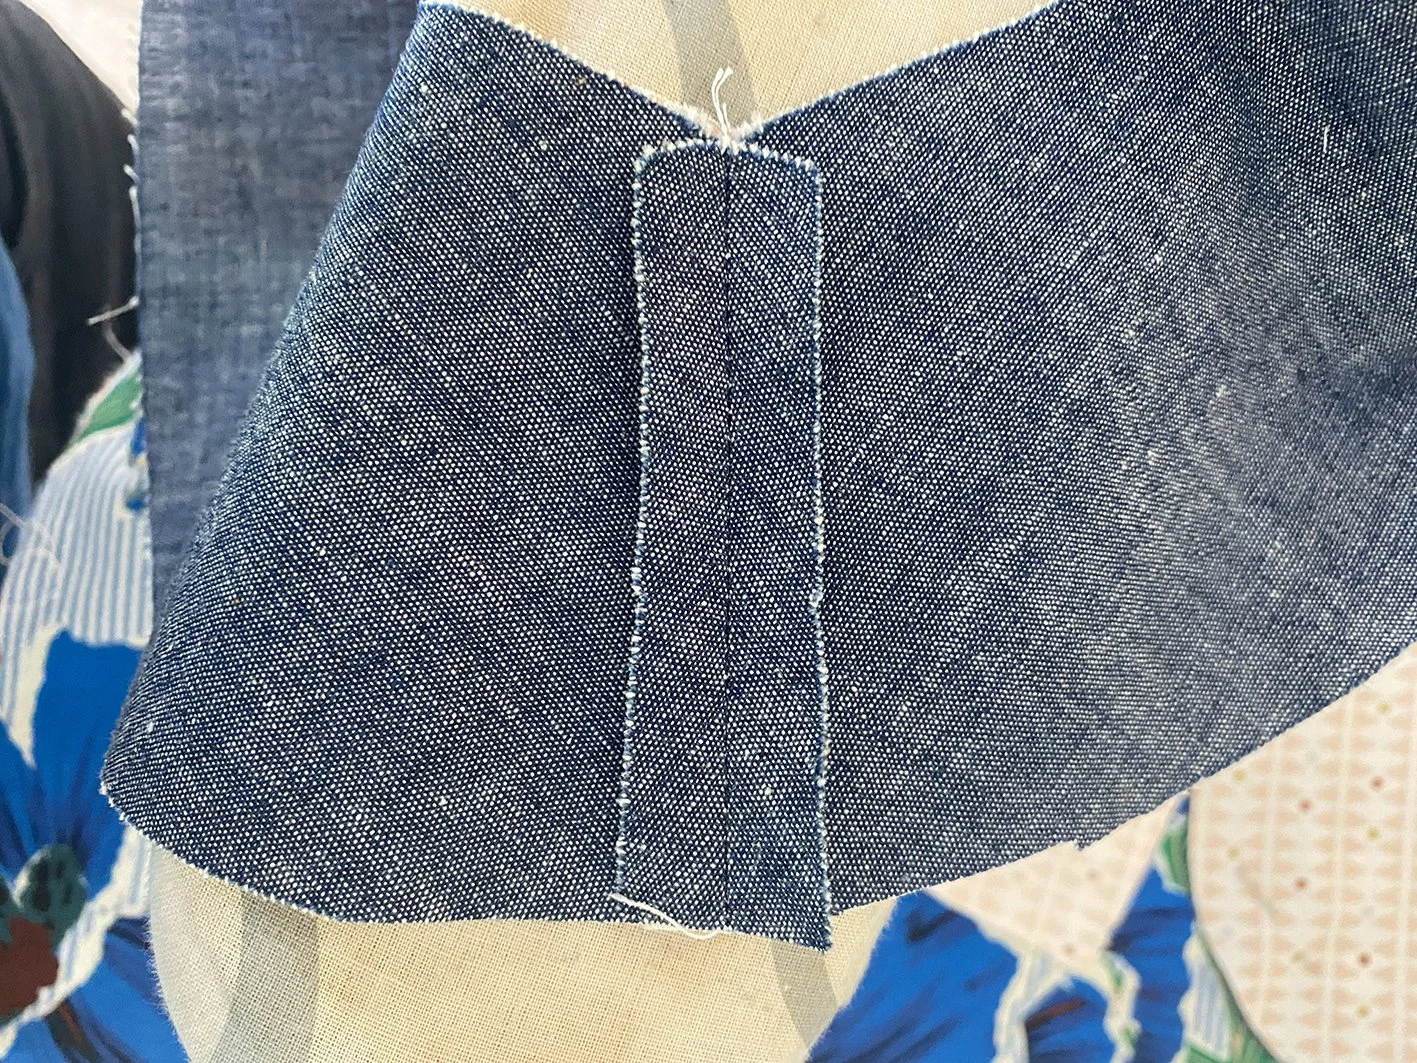
5. Press seams flat and then press open on both sides. I like to top stitch each side of the seam, but it is not necessary.
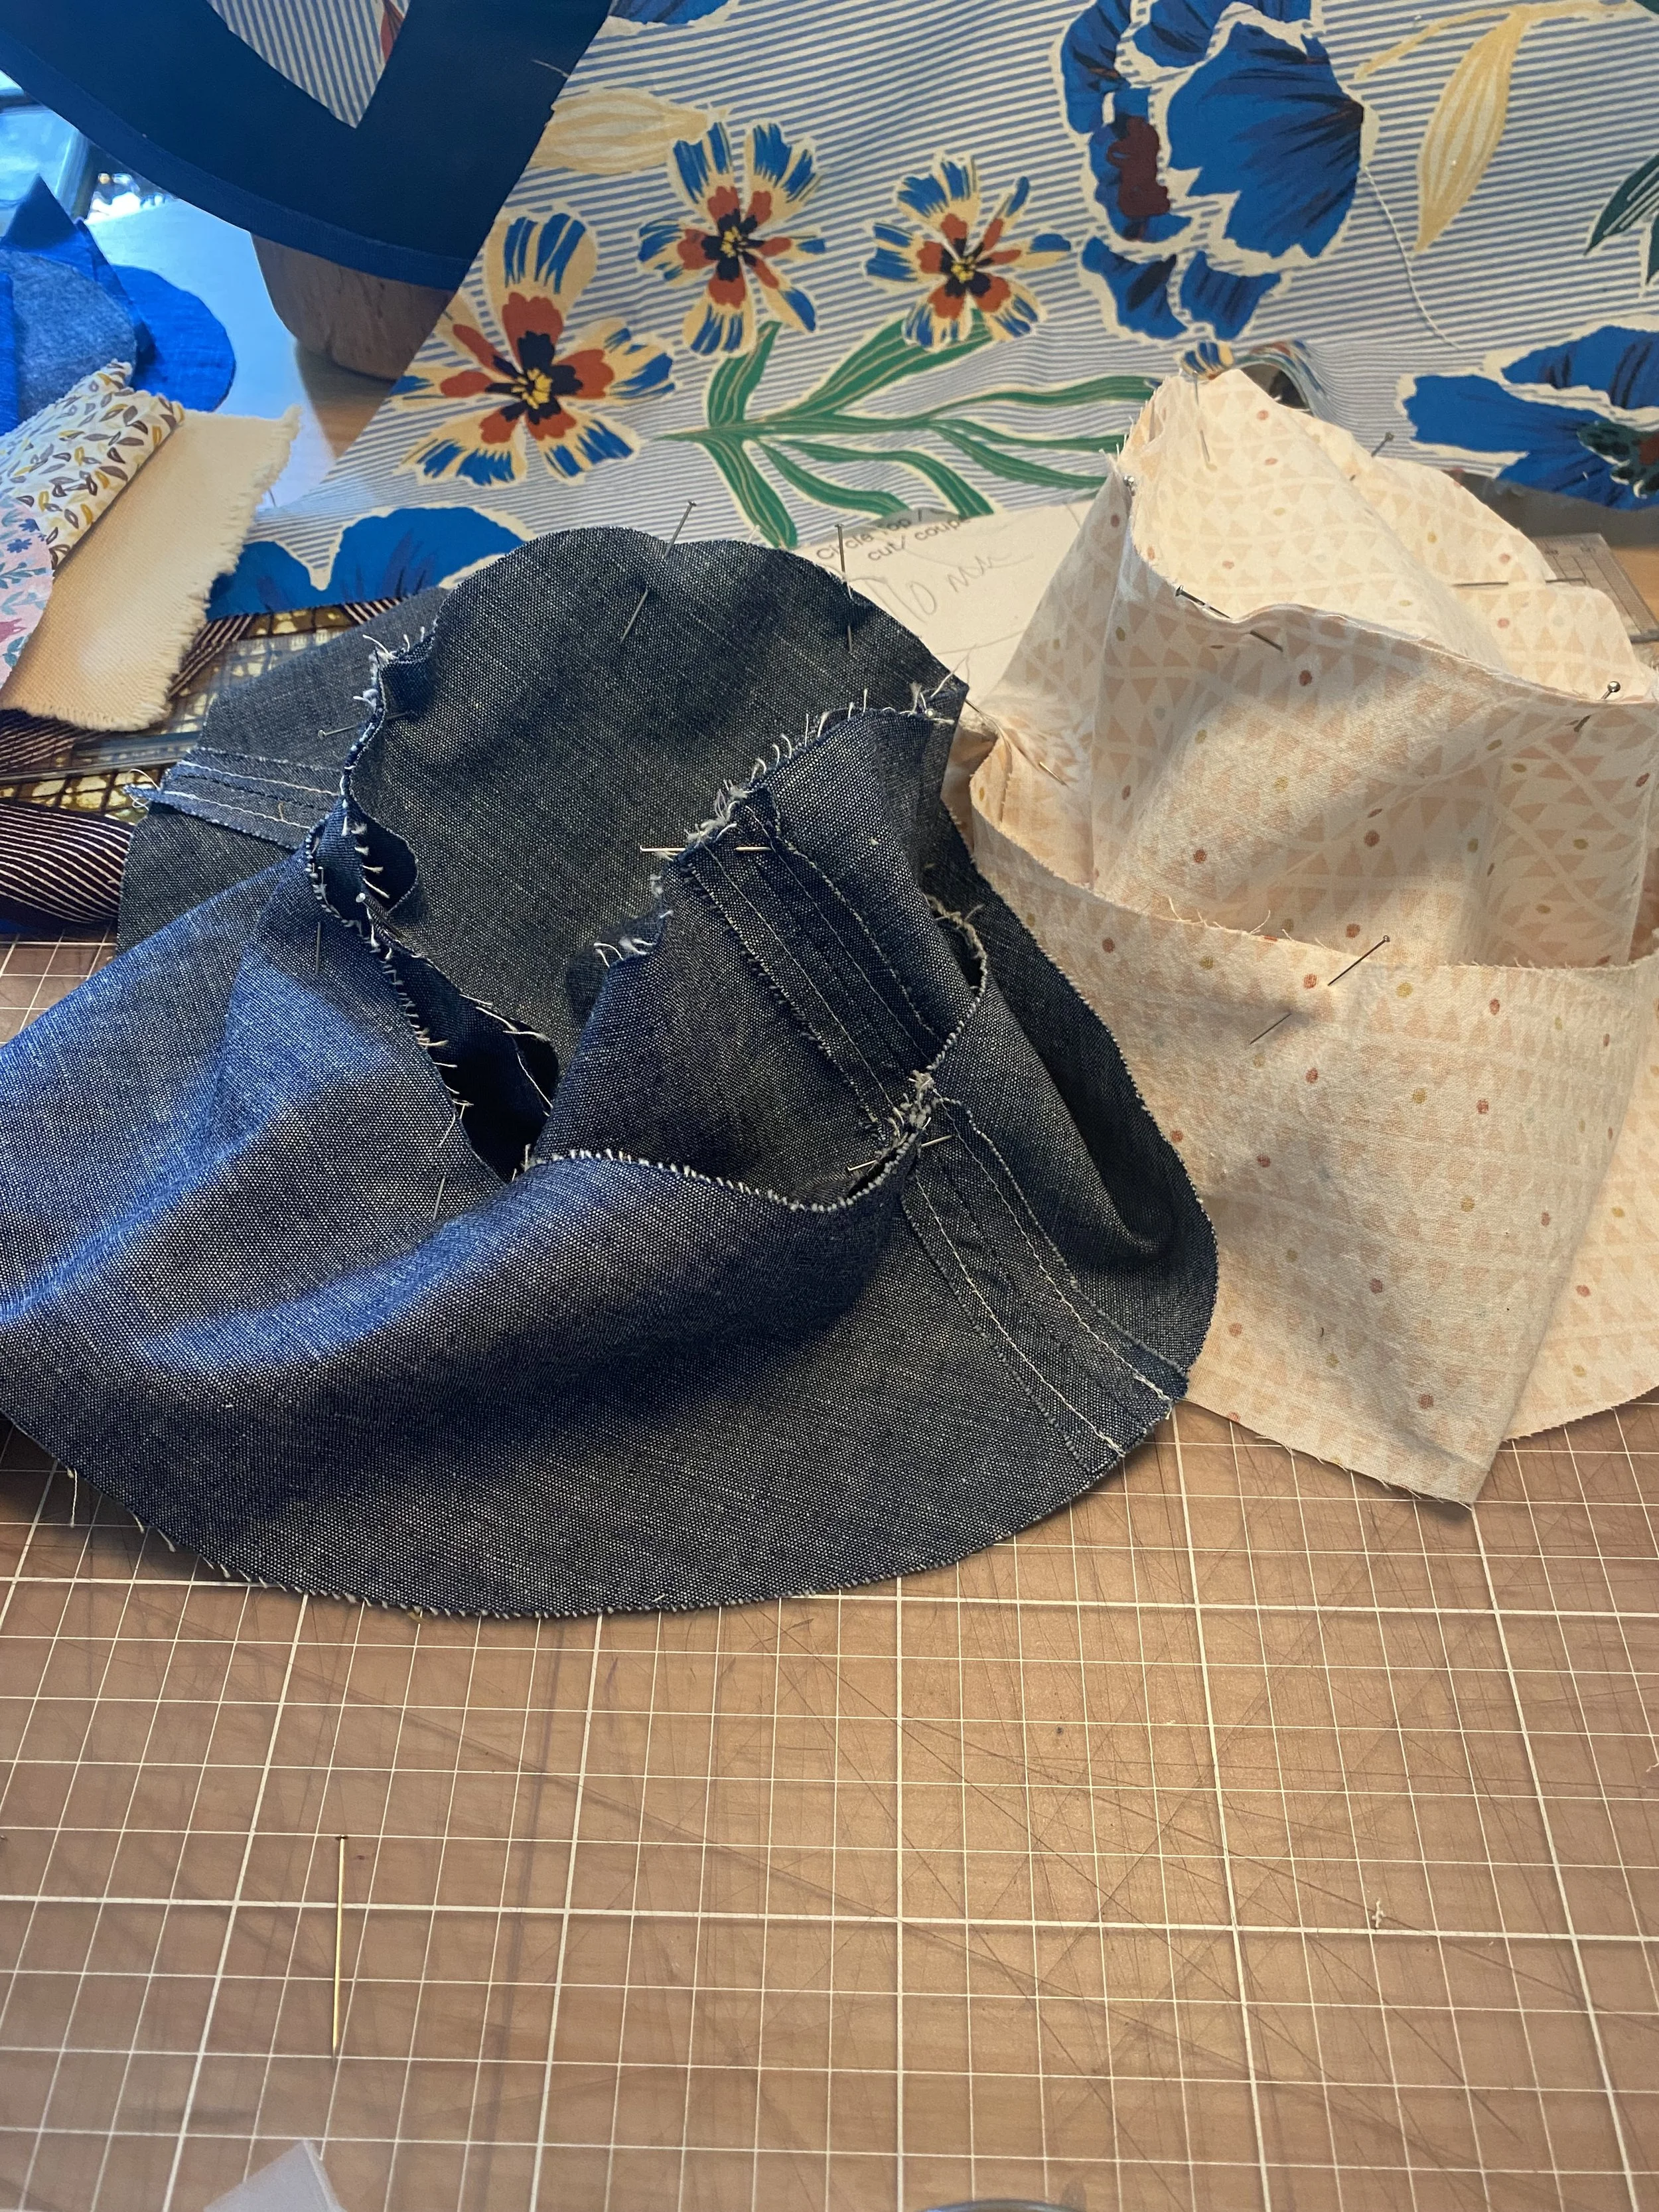
The two sides of the hat pinned together.
6. Attach the crown to the head band, press the seams direction toward the headband.
7. Attached the bottom of the headband to the smaller circle of the brim.
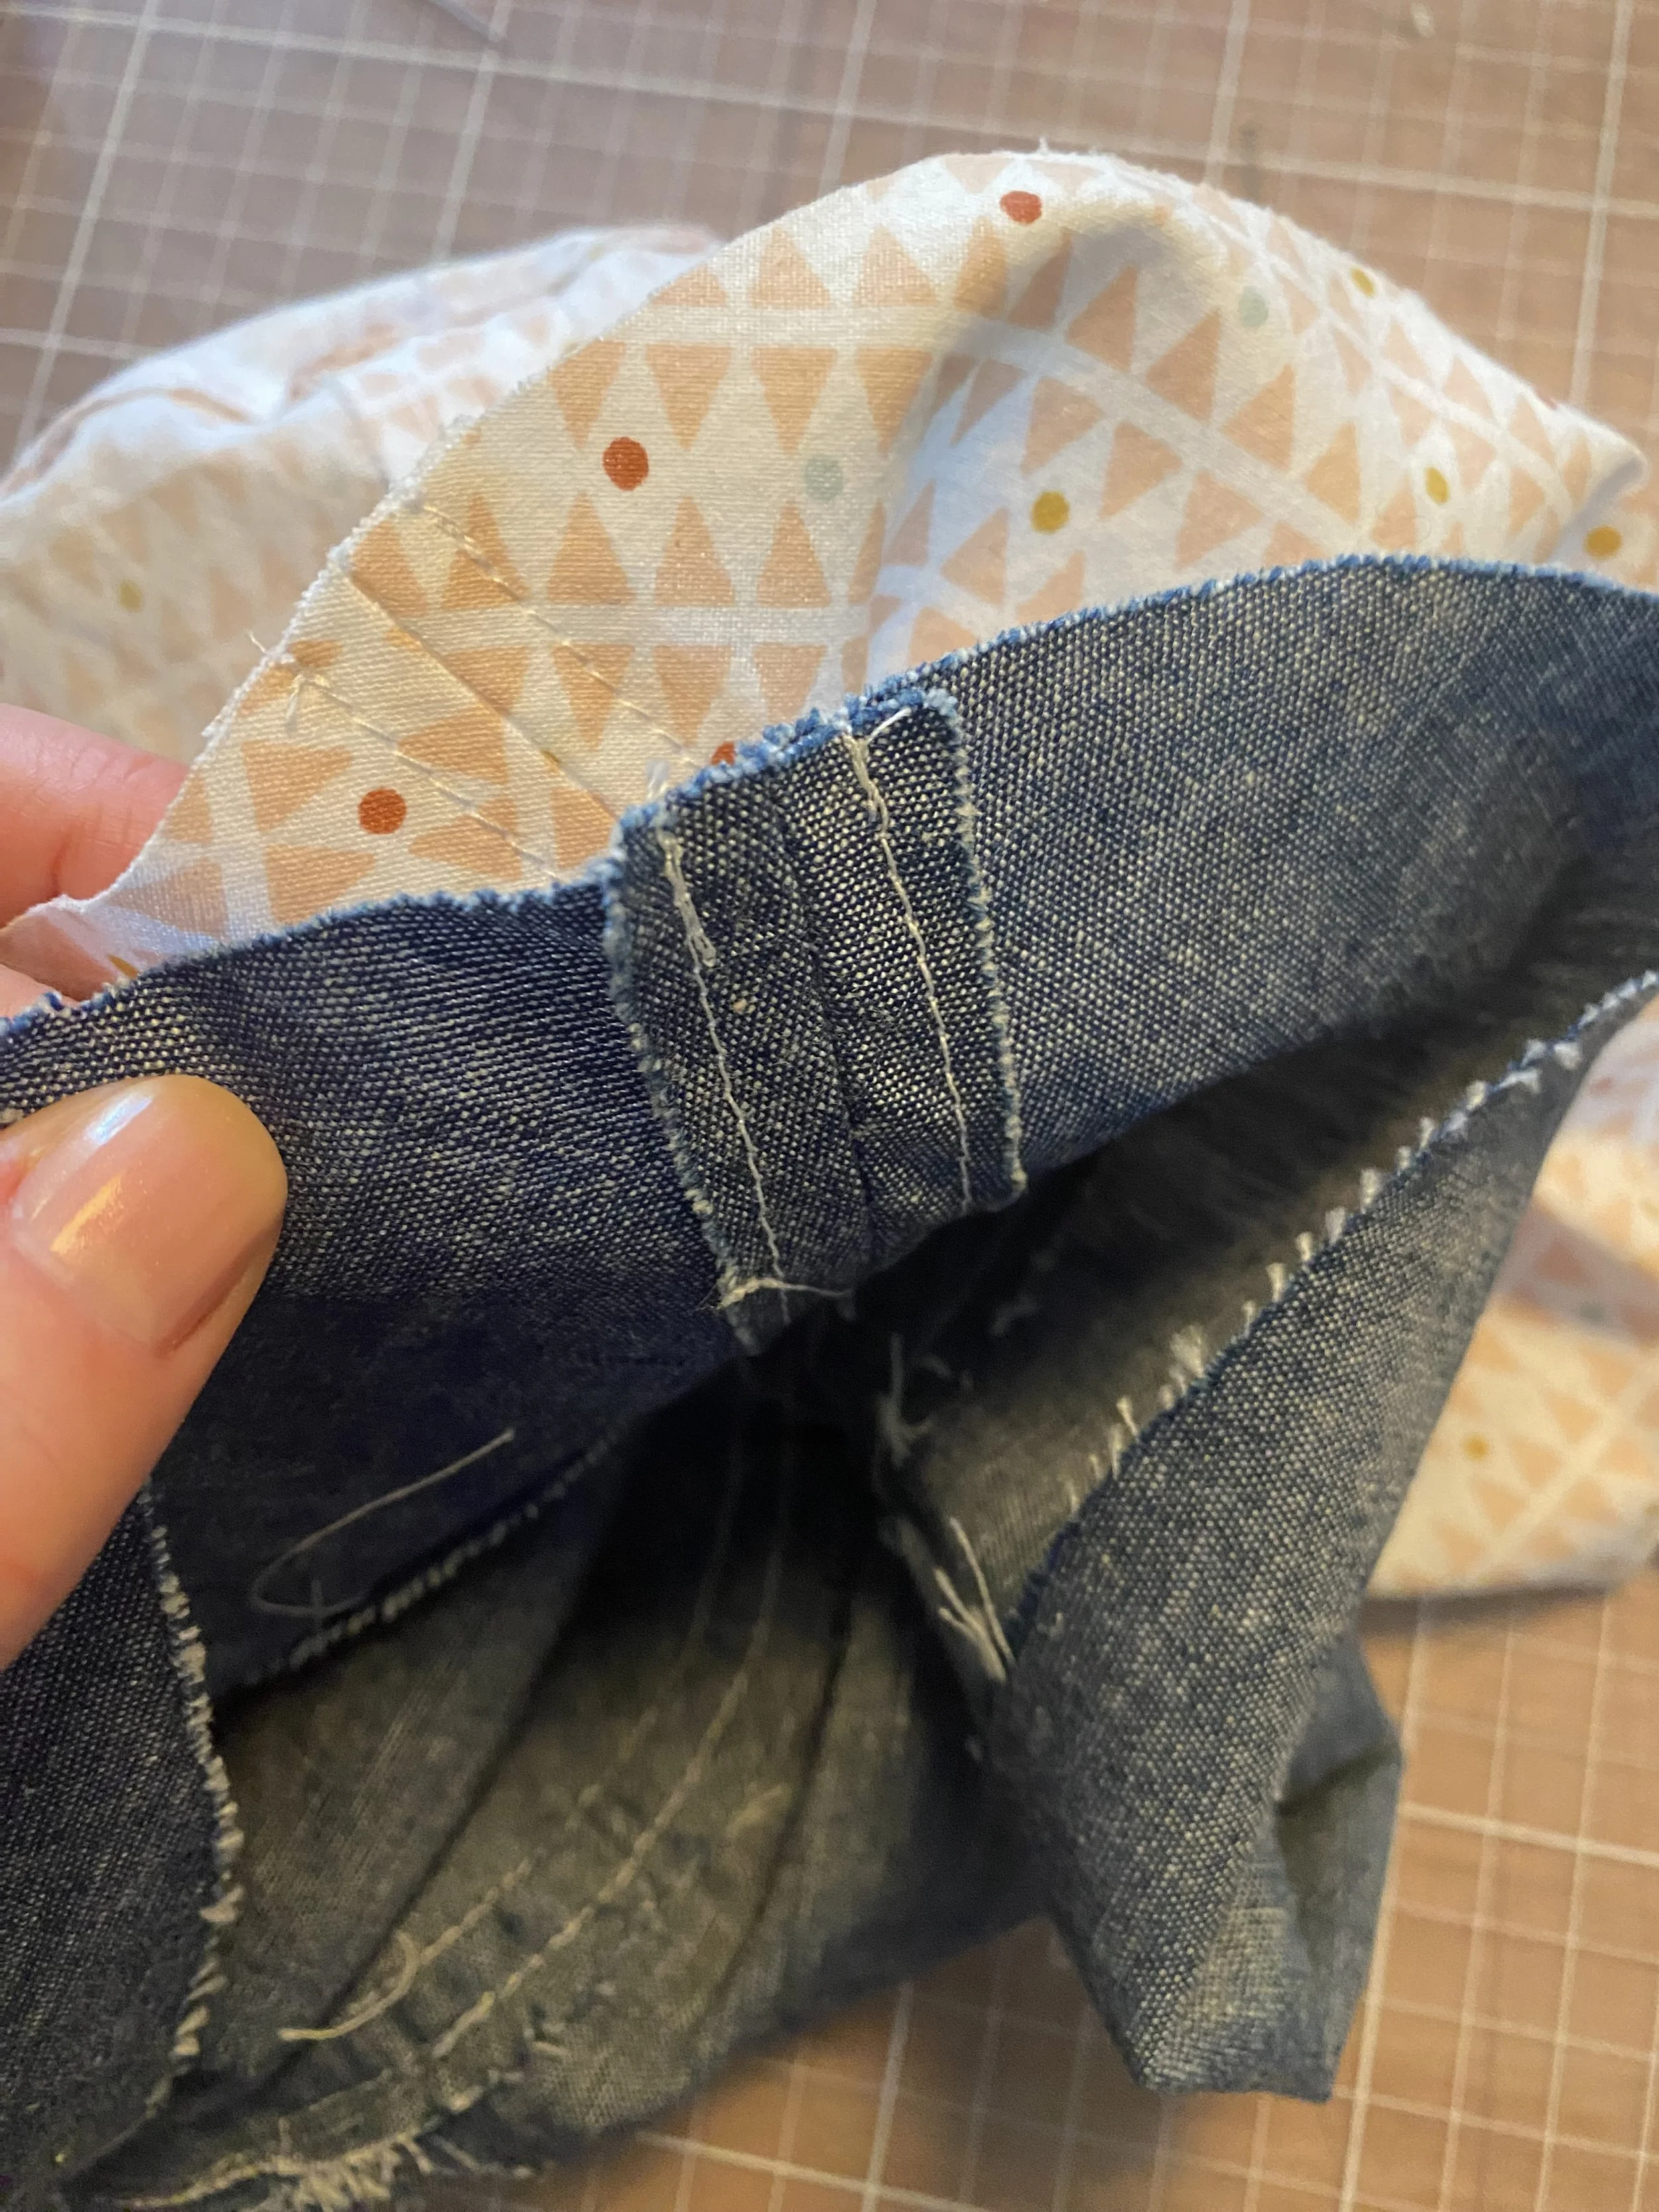
Inside of the hat with the side seams stitched down.
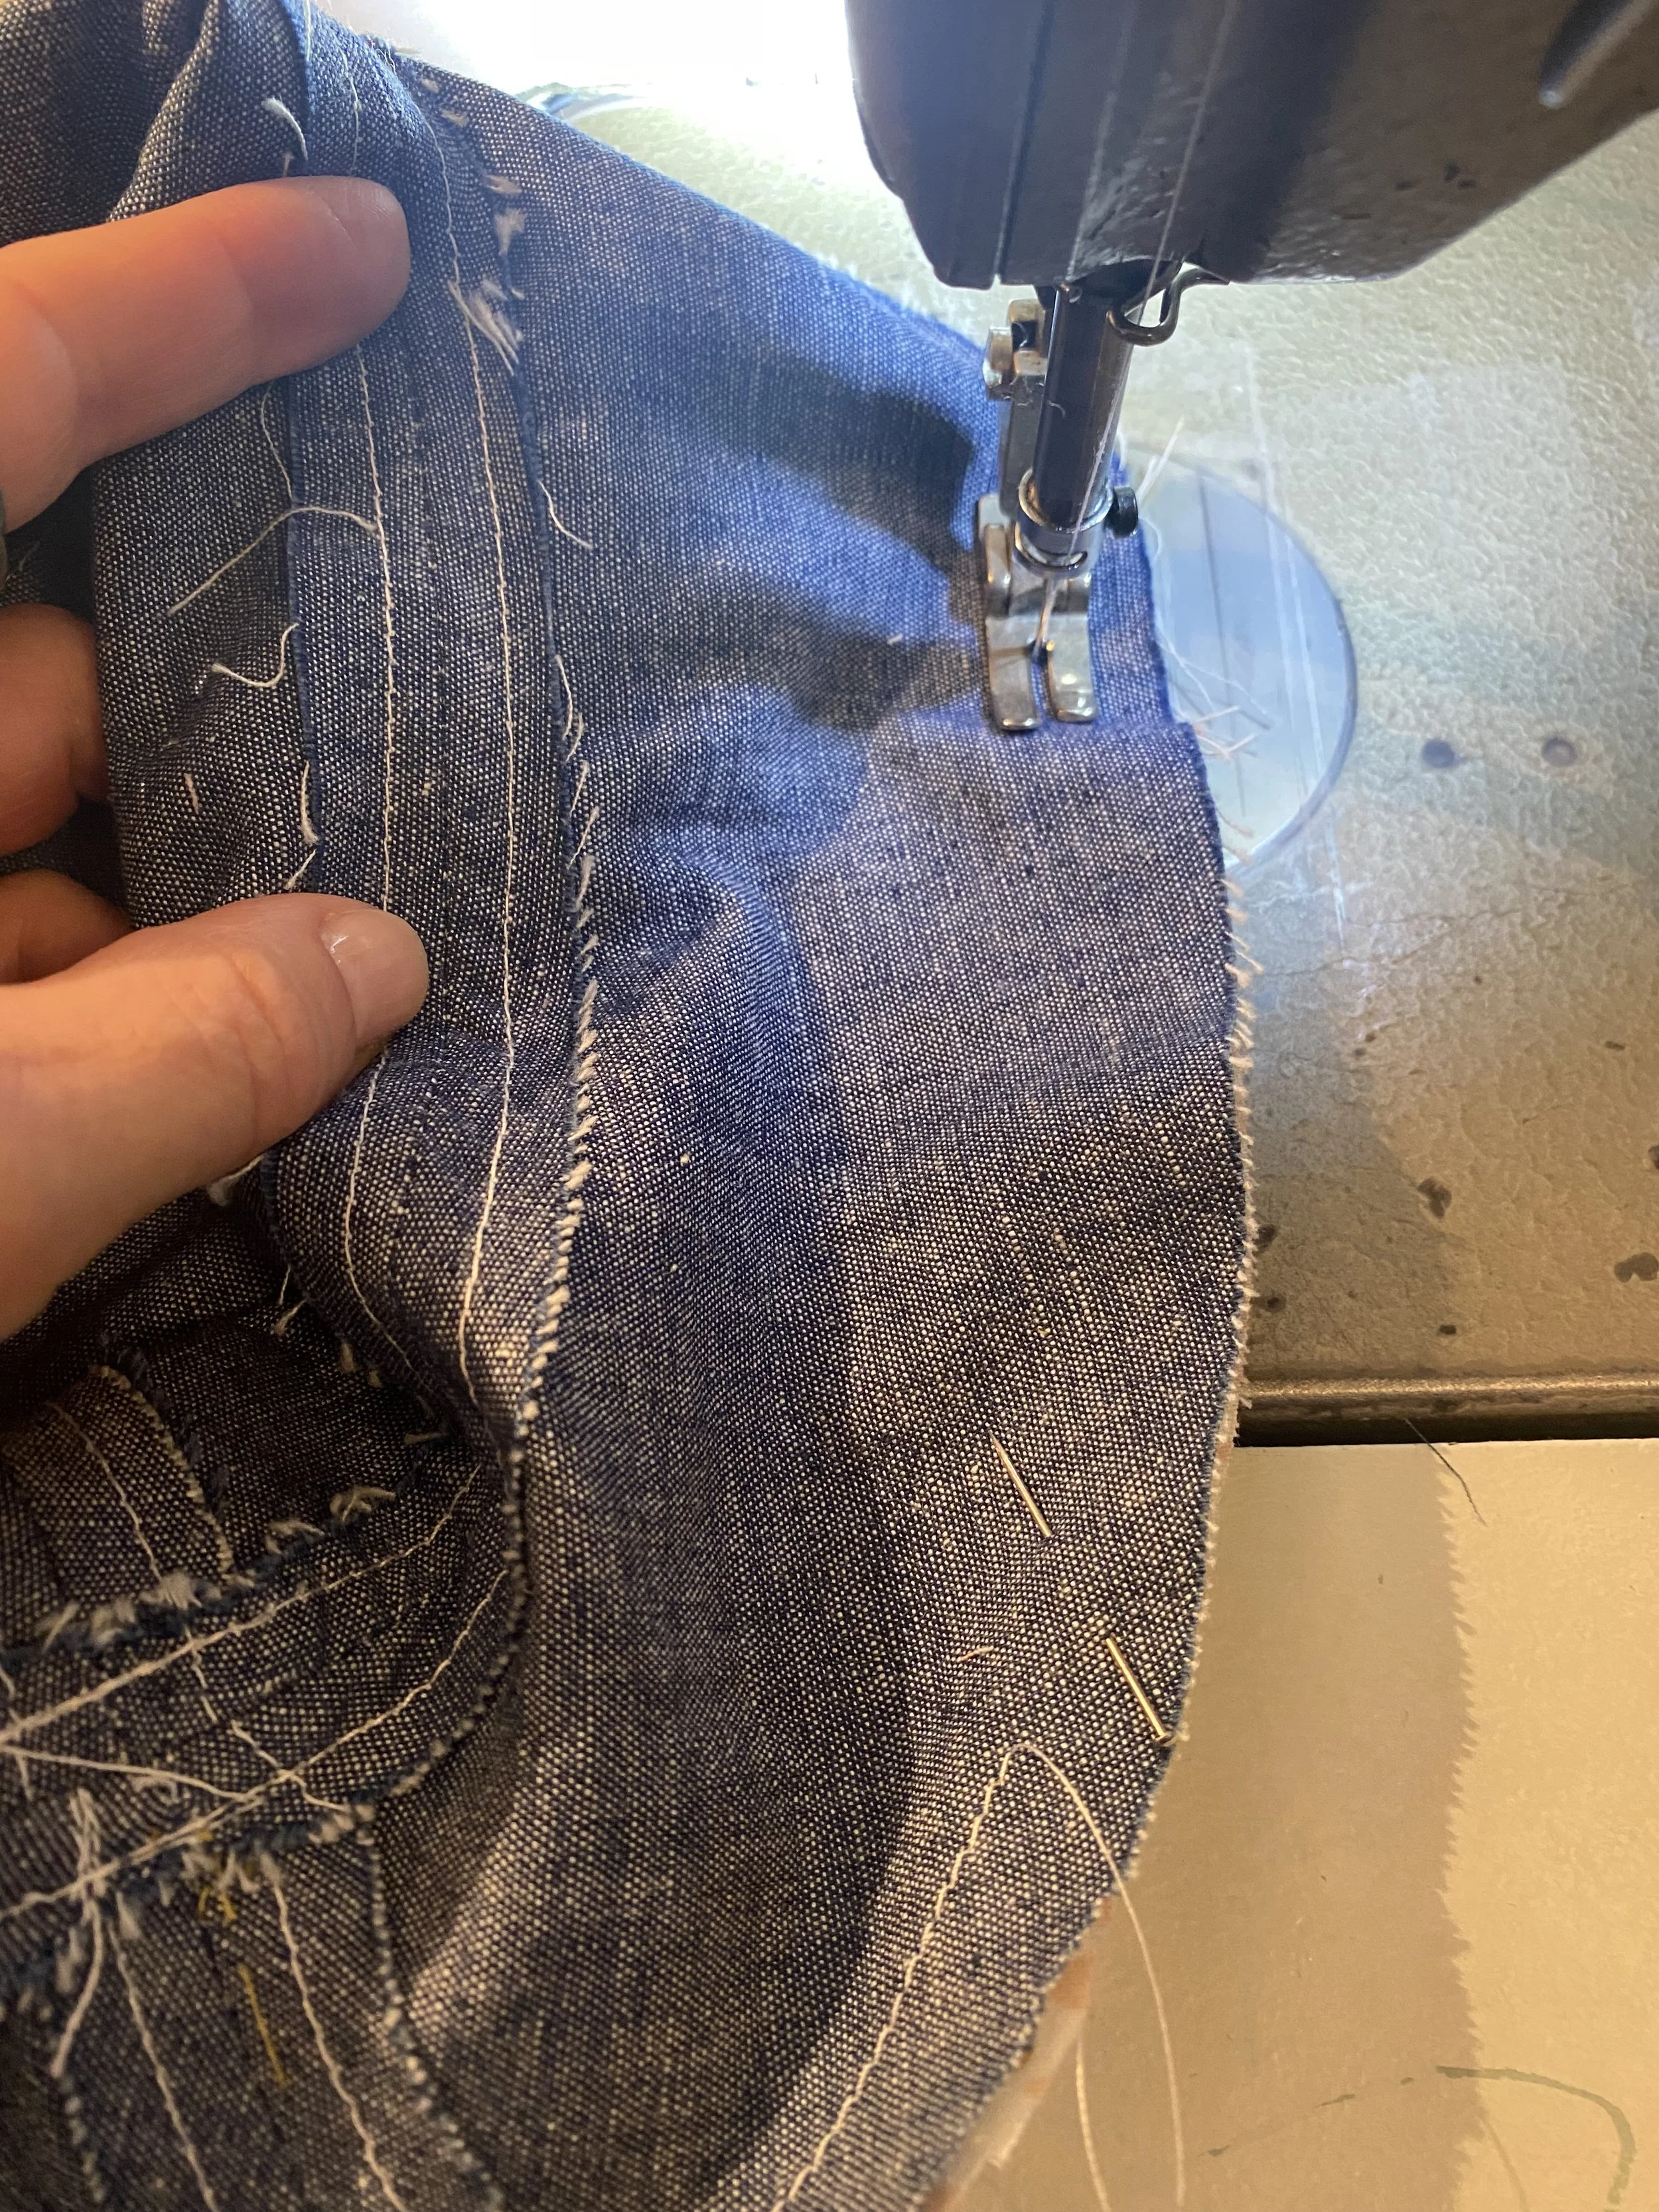
8 Attach both Sides together at brim and stitch most of the way around, but leave room to turn the hat around.
Steam this and you have a good idea of what you hat will look like! - This is where having the sleeve Iron board will come in VERY handy!
If you choose to have a finished edge on the brim remember not to fully sew all the way around the edge. - Depending on the material you choose, it can also be really fun to leaving the edge raw, and it will be easier to sew :)
10. Steam and close up the part that was turned around with and hand stitch.
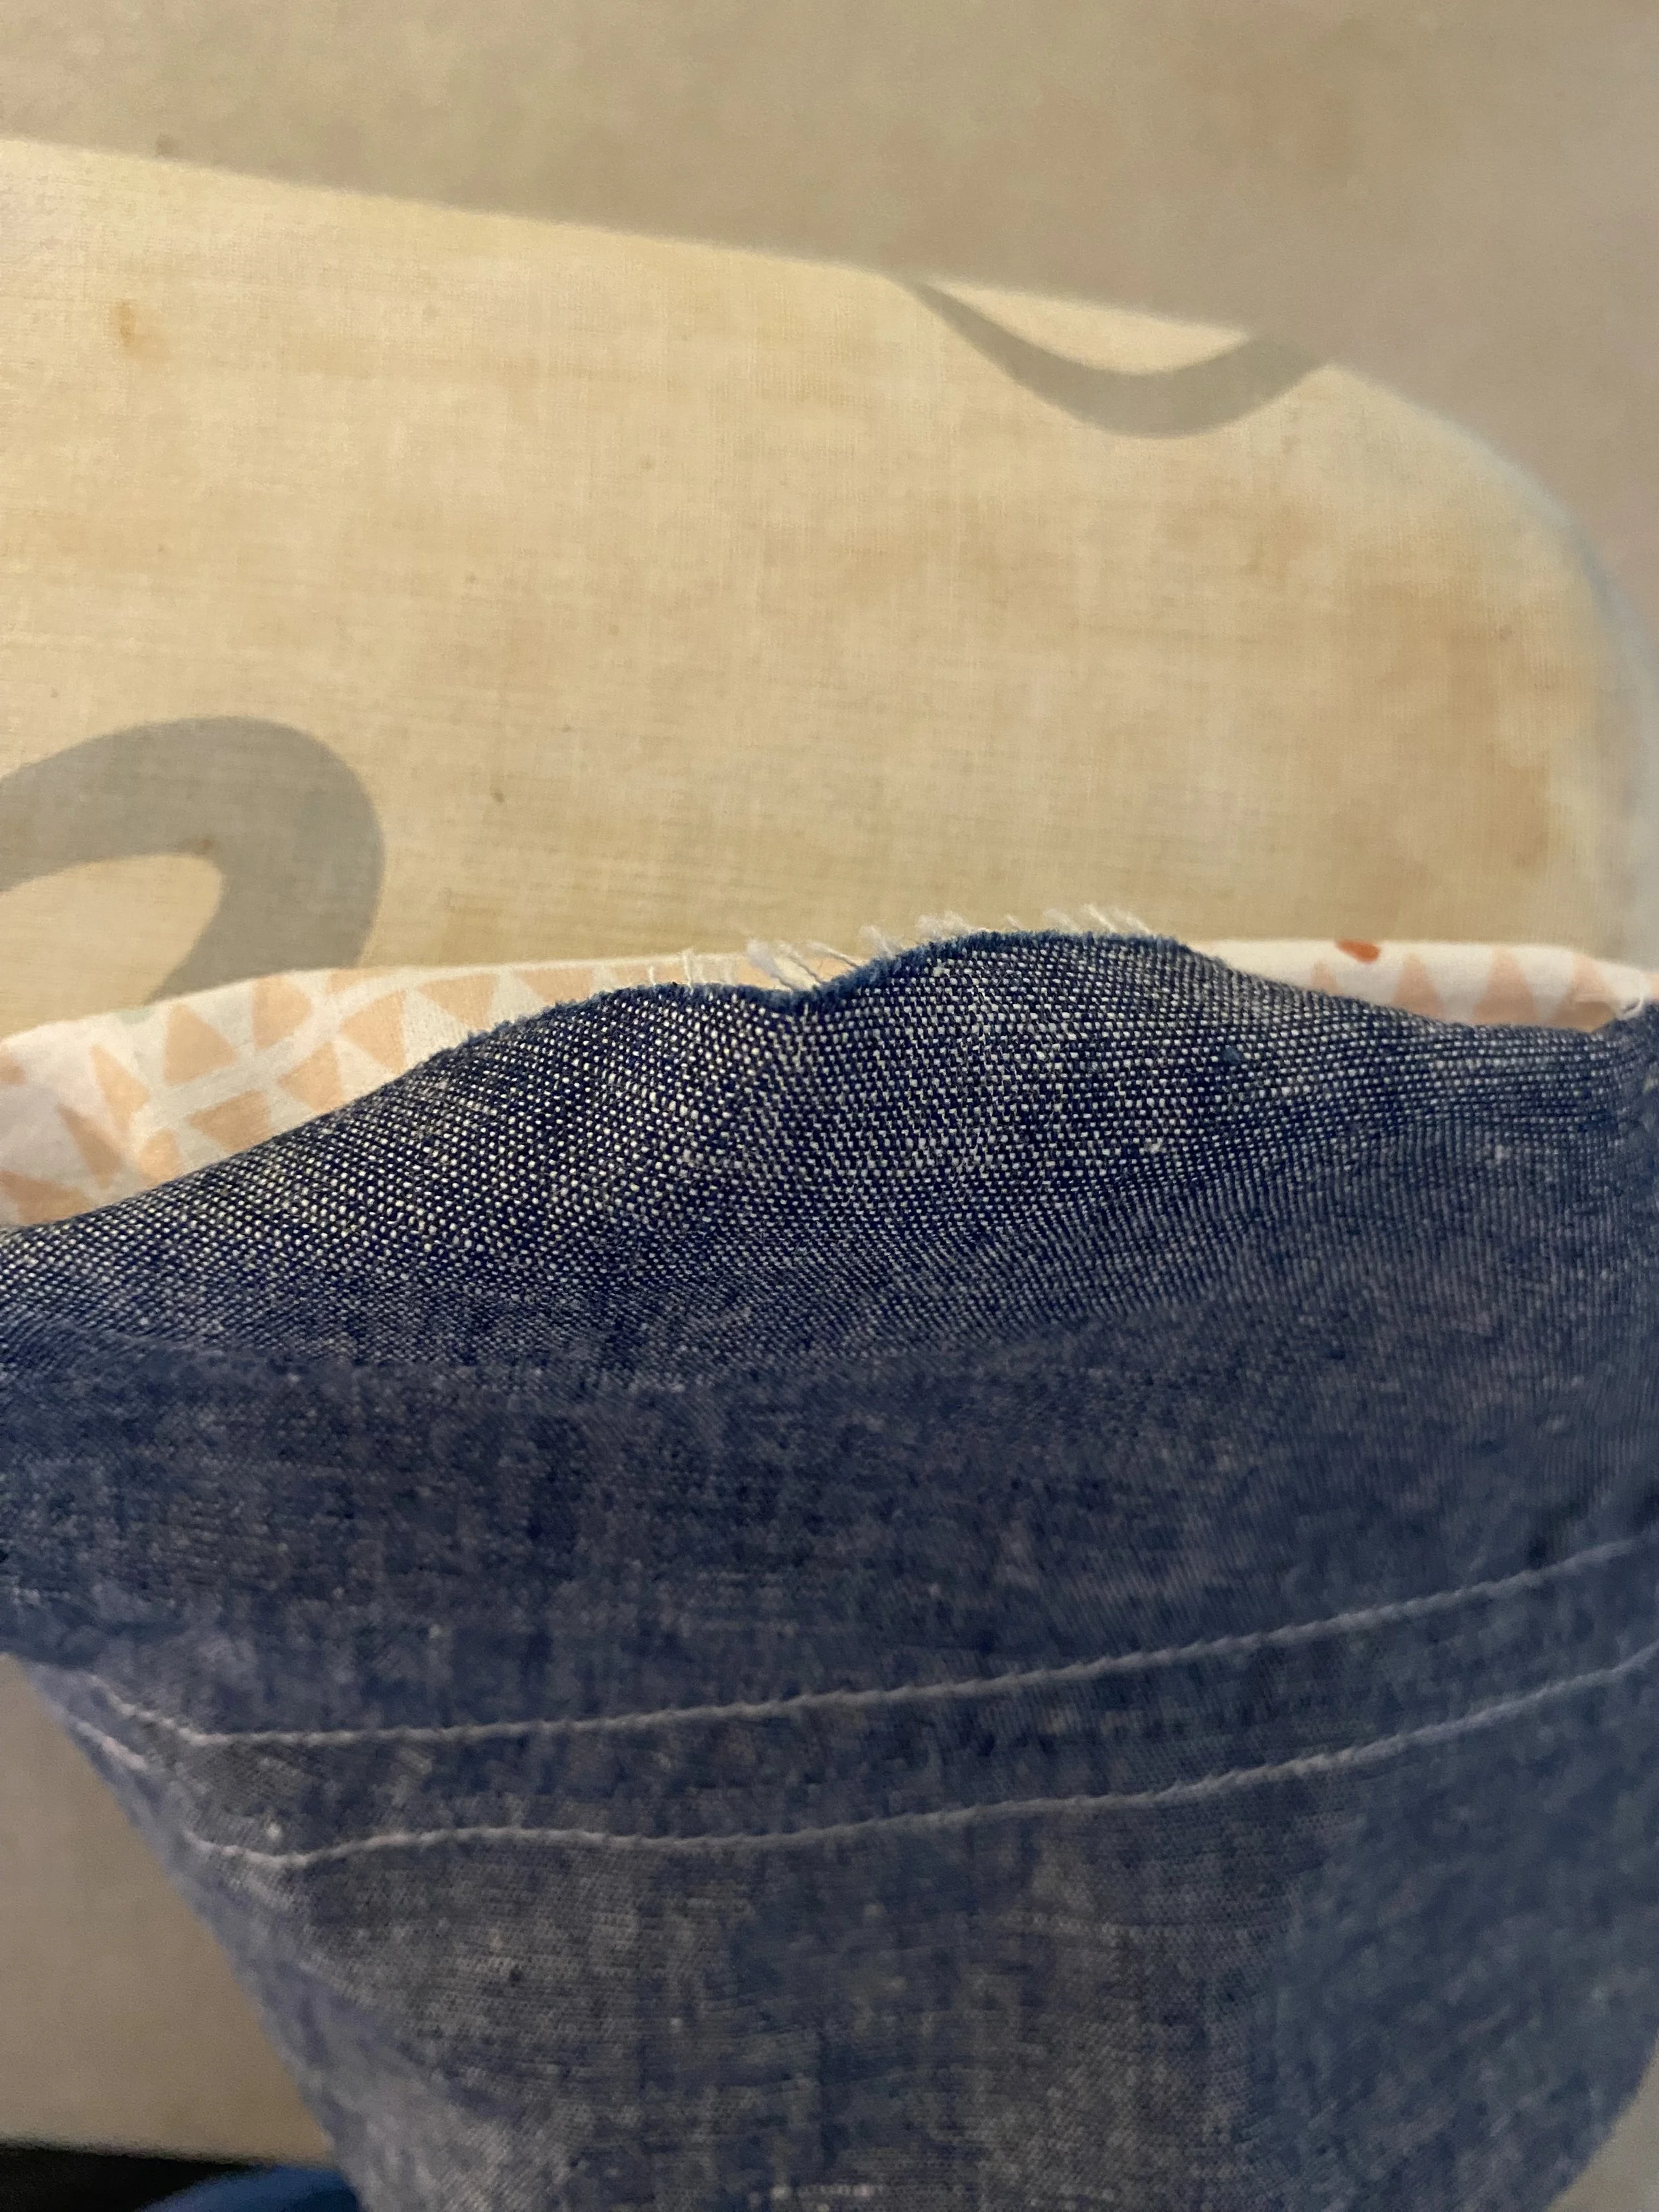
This was made more or less a the same time as the tutorial I was focusing on for the images. The inside is mostly pieced together.
You are finished!
Enjoy!
Have fun!
I would love to see what you create!
Please tag and or use the #SceauxScully so that I can see it!


